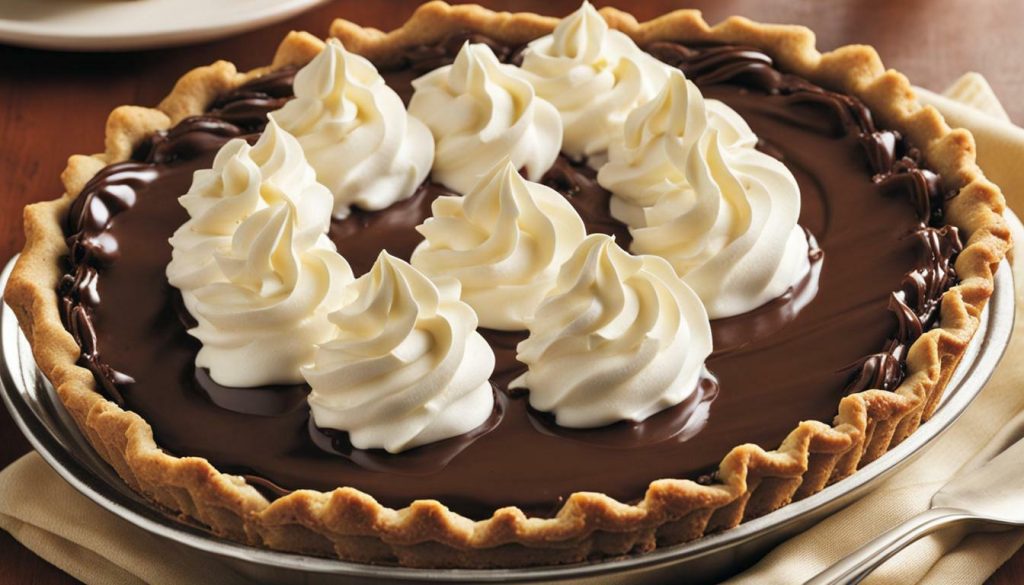

Are you looking for a simple and delicious dessert? Look no further than this 3 ingredient Hershey pie recipe! This mouthwatering pie is perfect for all the chocolate lovers out there. With minimal ingredients and no baking required, it’s quick and easy to satisfy your chocolate cravings. Let’s get started!
- Create a delicious Hershey pie with just 3 ingredients: a graham cracker crust, Cool Whip, and Hershey’s Chocolate Bars.
- Melt the chocolate bars in the microwave and mix in the Cool Whip to create a creamy chocolate filling.
- Spoon the mixture into the crust and refrigerate for at least 3 hours to let it set.
- Once chilled, the Hershey pie is ready to serve and enjoy, with its creamy and rich texture.
- Feel free to get creative with variations and add-ons, such as crushed nuts or caramel sauce.
Now, it’s time to indulge in a slice of homemade Hershey pie. This easy and delicious no-bake dessert is perfect for any occasion. Get your ingredients ready and satisfy your sweet tooth with this heavenly chocolate treat!
Gather Your Ingredients
Before diving into this delectable chocolate pie, gather all the required ingredients to ensure a smooth and enjoyable cooking experience. You will need:
- A pre-made graham cracker crust
- A tub of Cool Whip, thawed in the fridge
- 6 regular-sized Hershey’s Chocolate Bars, about 9 ounces in total
Having all these ingredients ready will make the process more convenient and allow you to focus on creating a delicious result.
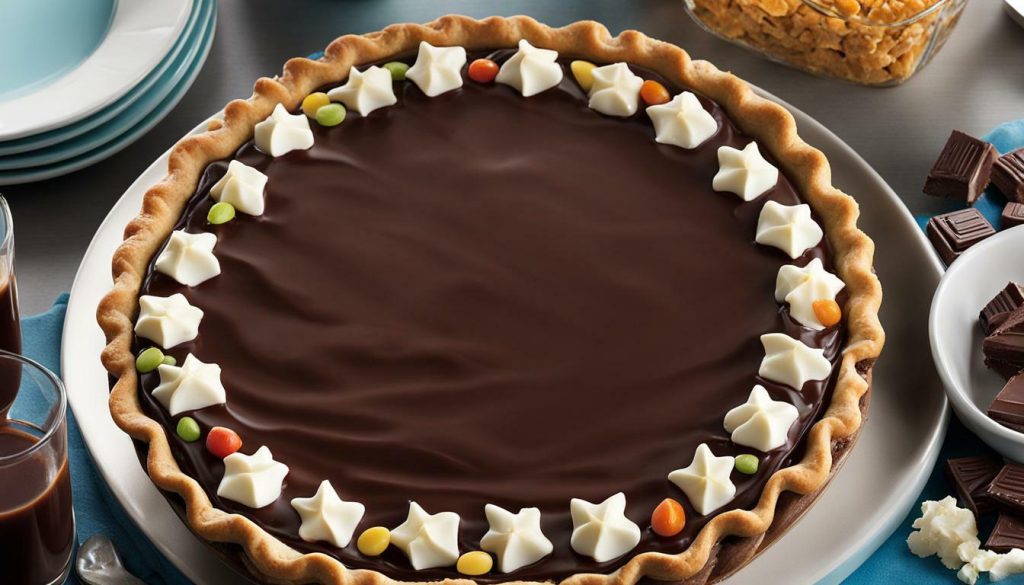

The Key Players: Graham Cracker Crust, Cool Whip, and Hershey’s Chocolate Bars
The graham cracker crust serves as the sturdy foundation for this pie, providing a buttery and slightly sweet base that complements the chocolate filling perfectly. It saves you time and effort compared to making a crust from scratch.
Cool Whip, a delightful and airy whipped topping, adds a creamy and smooth texture to the pie. It brings a lightness that balances the rich chocolate flavor.
Lastly, the star ingredient, Hershey’s Chocolate Bars, brings the unmistakable and beloved taste of Hershey’s chocolate to this pie. Melted to perfection, these chocolate bars form the rich and decadent filling that is sure to satisfy any chocolate lover’s cravings.
Now that you have all your ingredients ready, it’s time to embark on this mouthwatering chocolate adventure!
Melt the Chocolate Bars
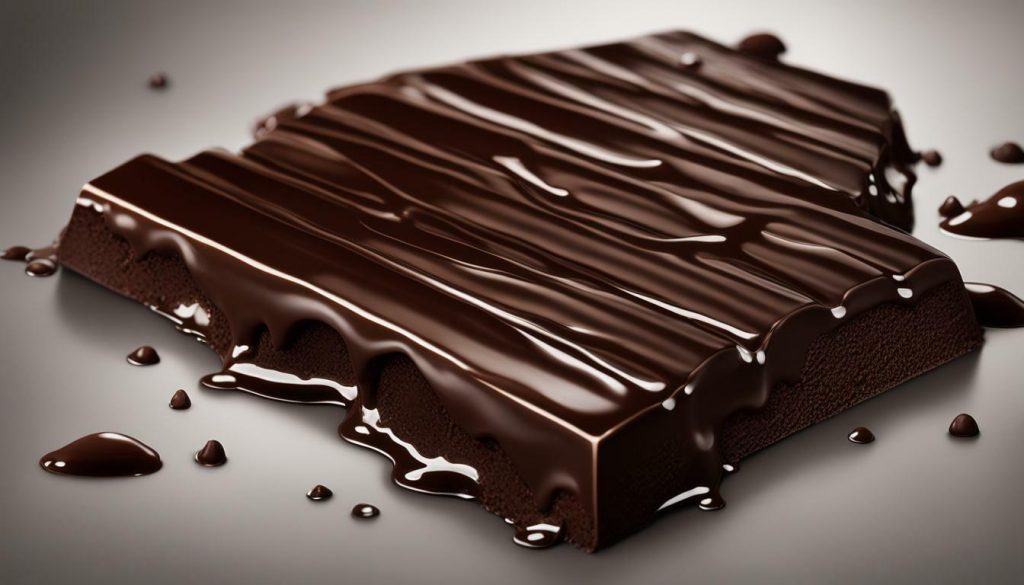
The first step in creating the decadent Hershey pie is to melt the chocolate bars to achieve a luscious and velvety consistency. To do this, place the 6 regular-sized Hershey’s Chocolate Bars in a microwave-safe bowl. Break the bars into smaller pieces to ensure even melting.
Next, place the bowl in the microwave and heat it in 30-second intervals, stirring after each interval. Be careful not to overheat the chocolate as it can scorch and become grainy. Continue heating and stirring until the chocolate is completely melted and smooth.
Once the chocolate is melted, you’re one step closer to indulging in a delicious slice of Hershey pie. The rich and creamy melted chocolate forms the foundation of this delectable dessert, providing a pure and intense chocolate flavor that will delight your taste buds.

| Tip | Description |
|---|---|
| Use a microwave-safe bowl | Ensure that the bowl you use to melt the chocolate bars is microwave-safe. Glass or ceramic bowls are ideal choices. |
| Heat in short intervals | To prevent overheating and scorching the chocolate, heat it in 30-second intervals, stirring well after each interval. |
| Stir consistently | Stir the chocolate well after each heating interval to promote even melting and prevent hot spots. |
| Avoid contact with water | Keep water away from the melted chocolate, as even a small amount can cause it to seize and become unusable. |
By following these tips, you’ll achieve perfectly melted chocolate bars that are ready to be transformed into a mouthwatering Hershey pie filling.
Combining Chocolate and Cool Whip
Now, it’s time to blend the melted chocolate bars with the Cool Whip, resulting in a heavenly mixture that will make your taste buds dance with joy. The smooth and creamy texture of the melted Hershey’s Chocolate Bars combined with the light and fluffy Cool Whip creates an irresistible filling for your Hershey Pie.
To start, pour the melted chocolate into a large mixing bowl. Then, add the thawed Cool Whip and gently fold it into the chocolate using a spatula. Continue folding until the two ingredients are fully incorporated and no streaks remain. Be careful not to overmix, as this can deflate the fluffy texture of the Cool Whip.
The combination of rich chocolate and airy Cool Whip creates a velvety filling that is both indulgent and light. Each bite is a perfect balance of sweetness and creaminess, making this Hershey Pie a true dessert masterpiece.
Summarize:
Combining the melted chocolate bars with the Cool Whip creates a heavenly mixture for the Hershey Pie. The smooth and creamy texture of the chocolate and the light and fluffy Cool Whip blend together to create a velvety filling. Be sure to fold the ingredients gently to avoid deflating the Cool Whip. The resulting mixture is a perfect balance of sweetness and creaminess, making the Hershey Pie a true dessert masterpiece.
Table: Hershey Pie Ingredients
| Ingredients | Quantity |
|---|---|
| Pre-made Graham Cracker Crust | 1 |
| Cool Whip (thawed) | 1 tub |
| Hershey’s Chocolate Bars | 6 regular-sized bars (approximately 9 ounces) |
Now that the chocolate and Cool Whip have been perfectly combined, it’s time to move on to the next step in creating your delectable Hershey Pie. Read on to learn how to spoon the mixture into the pre-made graham cracker crust.
Spoon into the Pie Crust
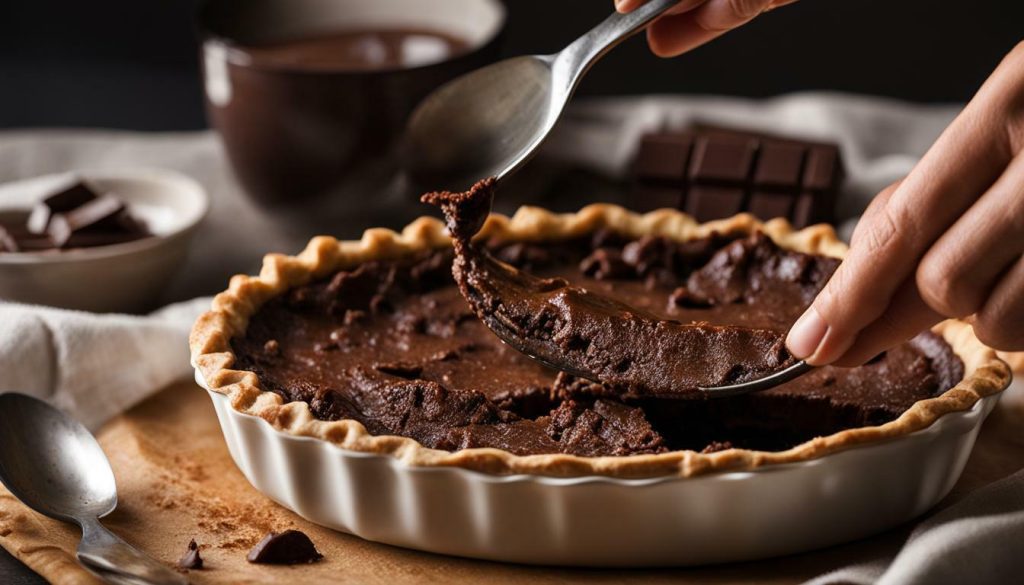
Once the chocolate and Cool Whip are thoroughly mixed, gently spoon the delectable mixture into the awaiting graham cracker crust. This step is crucial in creating the perfect texture and presentation for your Hershey pie. Take your time to evenly distribute the creamy chocolate filling, ensuring no corner is left untouched. The smooth surface will make your pie irresistible.
As you spoon in the mixture, you’ll notice the rich aroma of chocolate filling the air, heightening your anticipation for the final result. Each dollop of the silky smooth filling cascading into the crust is a promise of indulgence in every bite. It’s a truly satisfying moment that sets the stage for the ultimate chocolate dessert experience.
Continue to spoon until the pie crust is filled to the brim, creating a generous mound of chocolatey goodness. Don’t be afraid to be a little generous, as this pie is meant to satisfy your cravings and leave you wanting more.
Once the pie is filled, it’s time to add the finishing touches. You can choose to sprinkle some chocolate shavings on top for an extra touch of elegance and a burst of chocolatey goodness. The contrast between the smooth filling and the slightly crunchy shavings creates a delightful texture and elevates the visual appeal of the pie.

| Ingredients | Quantity |
|---|---|
| Pre-made graham cracker crust | 1 |
| Cool Whip (thawed) | 1 tub |
| Hershey’s Chocolate Bars | 6 regular-sized bars (about 9 ounces) |
“The moment you gently spoon the chocolate mixture into the waiting crust is pure bliss. It’s like creating a work of art, only this masterpiece is meant to be devoured and enjoyed by all who have a love for chocolate.”
Tips for a Perfect Pie
- Make sure the Cool Whip is fully thawed before mixing to ensure a smooth and creamy consistency.
- For an extra touch of indulgence, drizzle some chocolate sauce over the pie before serving.
- If you prefer a more intense chocolate flavor, you can use dark chocolate instead of milk chocolate.
- To add a little crunch, crush some chocolate cookies and sprinkle them on top of the pie.
Now that your pie is ready, it’s time to let it chill in the refrigerator. Remember to be patient as it sets for at least 3 hours or, even better, overnight. The waiting time allows the flavors to meld together and the filling to firm up into a creamy, dreamy consistency. After the long-awaited chill, you’ll be rewarded with a slice of Hershey pie that will leave you craving more.
Refrigerate the Pie
It’s time to give your Hershey pie some chill time! Place the pie in the refrigerator for a minimum of 3 hours or, ideally, overnight for the best results. This chilling process allows the flavors to meld together and the pie to set properly, resulting in a creamy and delicious dessert.
While waiting for the pie to chill, you can plan the perfect occasion to serve it. Whether it’s a family gathering, a dinner party, or simply a sweet treat for yourself, this easy and delightful Hershey pie is sure to impress.
As the pie cools and sets in the fridge, you can take this time to prepare any additional garnishes or toppings you may desire. Consider whipping up some homemade whipped cream or sprinkling crushed chocolate bars on top for an extra touch of indulgence.
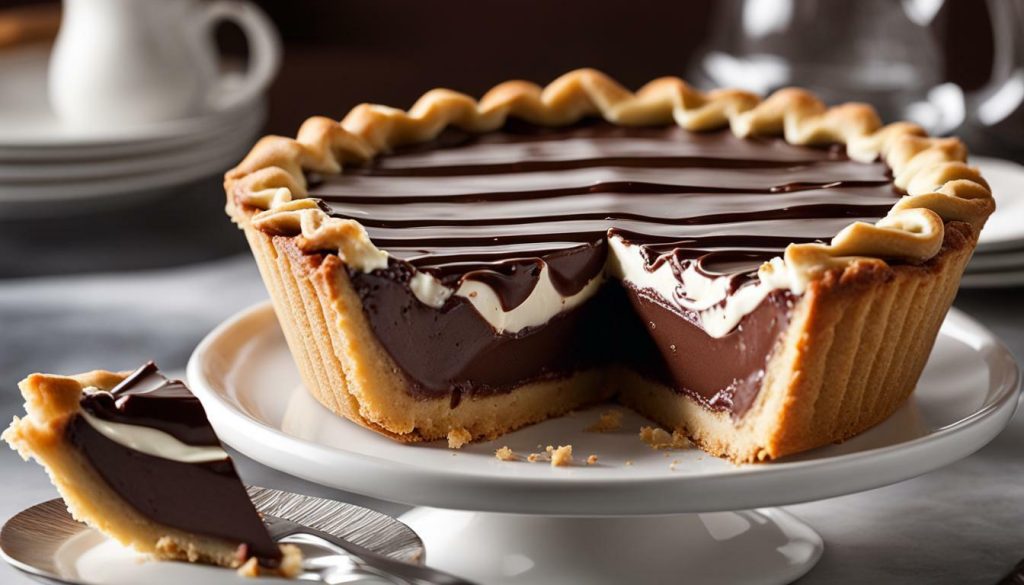

| Chilling Time | Results |
|---|---|
| Minimum of 3 hours | A creamy and well-set pie |
| Overnight | The best results with enhanced flavors |
Once the chilling time is up, take out your perfectly chilled Hershey pie and prepare to indulge in its creamy and chocolatey goodness. Slice it up and serve it to your eager guests or savor a piece all to yourself, knowing that you’ve created a delectable dessert with only three simple ingredients.
A Word of Advice
“The longer you refrigerate the pie, the better it becomes. The flavors have time to meld together, and the texture becomes incredibly smooth and creamy. Patience is key when it comes to creating the perfect Hershey pie!”
Creamy and Delicious
After the refrigeration period, your Hershey pie will transform into a creamy and decadent dessert, perfect for satisfying those chocolate cravings. The combination of melted Hershey’s Chocolate Bars and Cool Whip creates a luscious filling that is rich in flavor and velvety in texture. Each bite is a heavenly indulgence that will leave you wanting more.
The no-bake nature of this pie makes it incredibly easy to prepare, while still delivering a show-stopping dessert that will impress your family and friends. Whether it’s a casual gathering or a special occasion, this Hershey pie is a crowd-pleaser that never fails to delight.
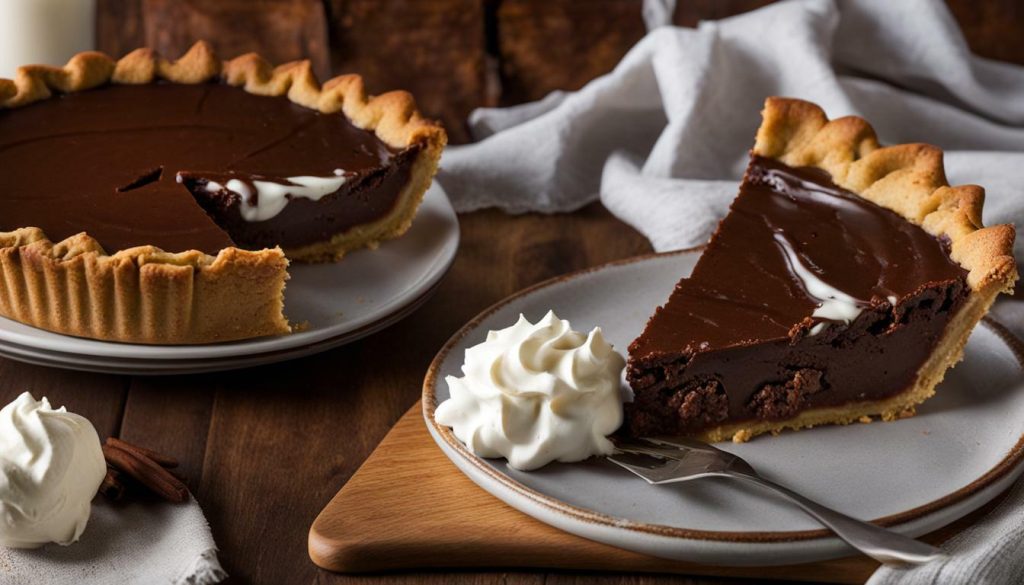
When serving your creamy Hershey pie, consider adding a dollop of extra Cool Whip on top for an extra touch of creaminess. You can also sprinkle some chocolate shavings or cocoa powder for added visual appeal. The possibilities are endless, and you can get creative to make your Hershey pie truly your own.
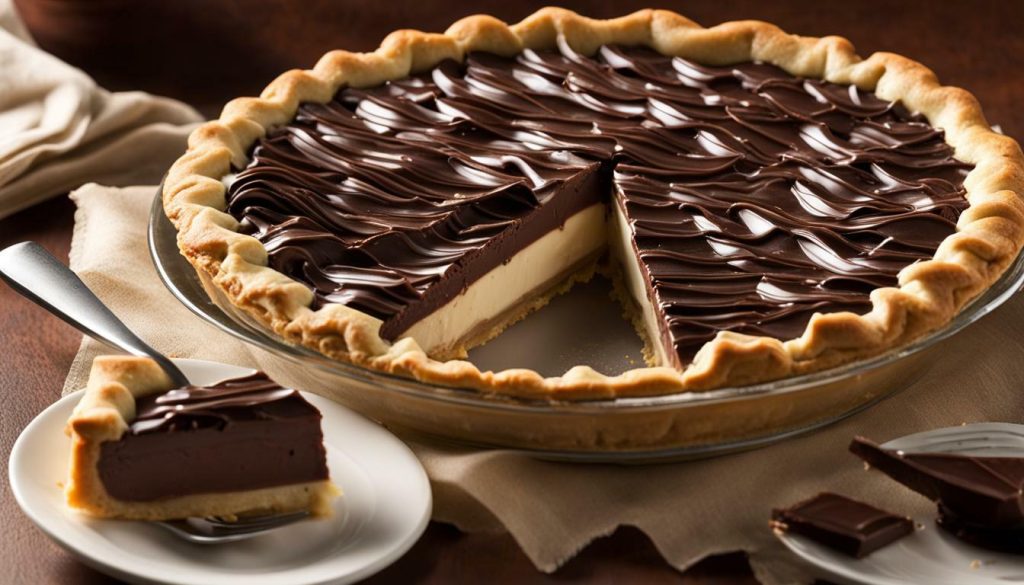

Indulge in the creamy and rich flavors of this no-bake Hershey pie whenever you’re in need of a chocolate fix. Whether it’s for a cozy night at home, a holiday celebration, or a potluck with friends, this dessert is guaranteed to satisfy any sweet tooth. So go ahead, treat yourself to a slice of chocolatey heaven!
Tips for Success
- Make sure to use high-quality Hershey’s Chocolate Bars for the best flavor.
- Thaw the Cool Whip in the refrigerator overnight to ensure it’s properly softened.
- For a smoother texture, chop the chocolate bars into smaller pieces before melting.
- Allow the pie to chill for the recommended time to ensure it sets properly.
- Feel free to experiment with different variations and add-ons, such as crushed nuts, caramel sauce, or a drizzle of melted chocolate.
Recipe Summary
| Ingredients | Instructions |
|---|---|
| Pre-made graham cracker crust | Melt Hershey’s Chocolate Bars in the microwave until smooth |
| Cool Whip (thawed) | Mix melted chocolate and Cool Whip until well combined |
| Hershey’s Chocolate Bars (6 regular-sized bars) | Spoon mixture into the graham cracker crust |
| Refrigerate for at least 3 hours or overnight | |
| Serve and enjoy! |
Enjoy!
It’s finally time to indulge in a heavenly slice of homemade Hershey pie and experience the pure bliss of its chocolaty goodness. This 3 ingredient recipe is incredibly simple, requiring just a few pantry staples. A pre-made graham cracker crust provides the perfect base for the creamy and rich filling, made by melting 6 regular-sized Hershey’s Chocolate Bars until smooth and combining them with a tub of Cool Whip. The result is a velvety chocolate pie that will satisfy even the most intense sweet tooth.
Once you’ve mixed the chocolate and Cool Whip together, spoon the luscious mixture into the pie crust, spreading it evenly to create a beautiful, smooth filling. Then, refrigerate the pie for at least 3 hours, or even overnight, to allow it to set. This chilling time enhances the flavors and textures, resulting in a perfectly creamy and delicious pie.
When it’s time to serve, take a moment to appreciate the beauty of your creation. Slice into the pie and savor every bite of its rich chocolate flavor. The smooth and velvety texture will melt in your mouth, leaving you with a sense of satisfaction and delight. This pie is perfect for any occasion, whether it’s a casual family gathering or a special dessert for a celebration. Let the Hershey pie be the star of the show with its simplicity and irresistible taste.
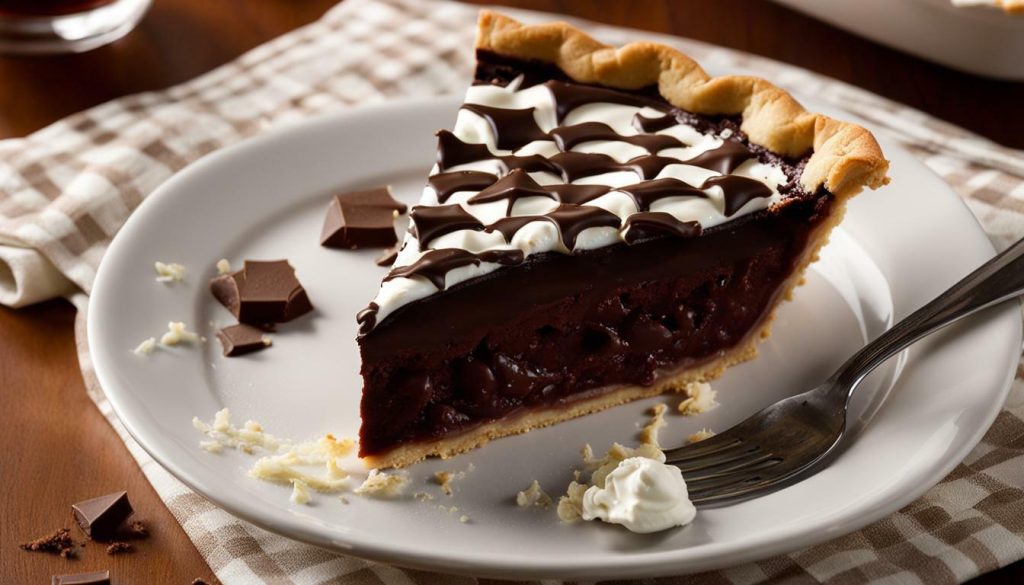

So, gather your ingredients, follow the easy steps, and create a homemade Hershey pie that will bring joy to your taste buds. Whether you enjoy it alone or share it with loved ones, this pie is sure to be a hit. Don’t forget to take a moment to savor the rich, creamy, and chocolaty goodness that this simple dessert delivers. Indulge in every bite and treat yourself to a slice of pure decadence.
Try Variations and Add-ons
Want to take your Hershey pie to the next level? Explore different variations and add-ons to customize this already delightful dessert. Here are a few ideas to get you started:
Variations:
- Add peanut butter: For a delicious twist, swirl in a couple of tablespoons of creamy peanut butter into the chocolate and Cool Whip mixture. The combination of chocolate and peanut butter is a classic that never disappoints.
- Use different chocolate flavors: While Hershey’s Chocolate Bars are a classic choice, why not experiment with other chocolate flavors? Try using dark chocolate, white chocolate, or even mint chocolate for a unique and refreshing taste.
- Add crushed cookies: For an extra texture and flavor, crush some of your favorite cookies, such as Oreo or chocolate chip cookies, and sprinkle them on top of the pie. The added crunch will take this dessert to a whole new level.
Add-ons:
- Top with whipped cream: Serve each slice of Hershey pie with a dollop of freshly whipped cream on top. The light and airy whipped cream will complement the rich and creamy pie filling perfectly.
- Drizzle with chocolate sauce: Take the chocolatey goodness up a notch by drizzling some warm chocolate sauce over the pie. The extra chocolatey sauce will add an additional layer of decadence to this already indulgent dessert.
- Garnish with fresh berries: For a pop of color and a refreshing contrast, garnish the pie with a handful of fresh berries, such as strawberries or raspberries. The tartness of the berries will balance out the sweetness of the pie.
Remember, the possibilities are endless when it comes to customizing your Hershey pie. Feel free to get creative and experiment with different variations and add-ons to suit your taste preferences. The key is to have fun and enjoy the process of making this delicious dessert.
| Variations | Add-ons |
|---|---|
| Add peanut butter | Top with whipped cream |
| Use different chocolate flavors | Drizzle with chocolate sauce |
| Add crushed cookies | Garnish with fresh berries |
So go ahead and get creative with your Hershey pie! Whether you choose to try out different variations or add some extra toppings, your customized pie is sure to impress both your taste buds and your guests. Enjoy the journey of making this delightful dessert your own!
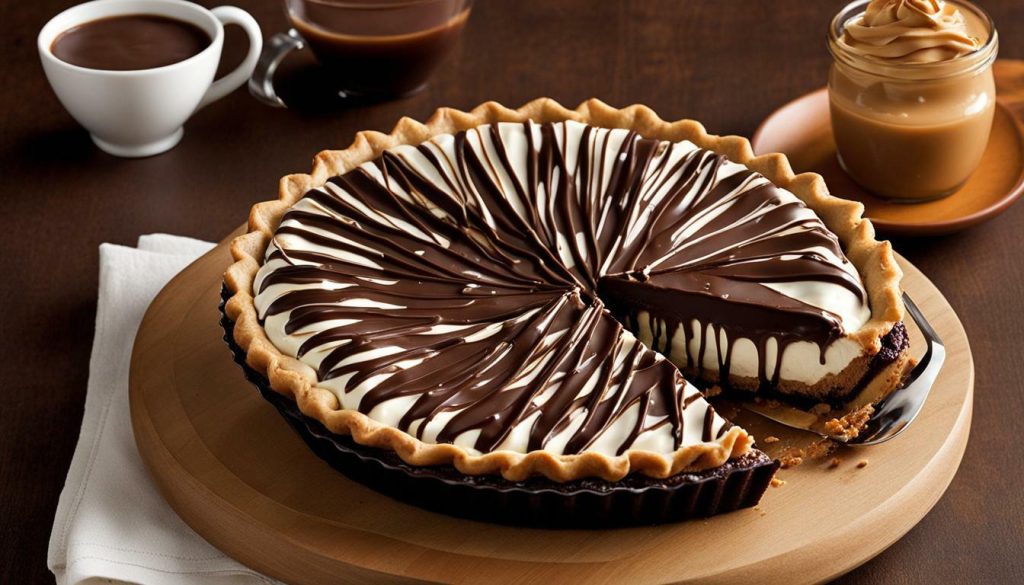

We’re eager to hear about your Hershey pie experience! Don’t forget to share your thoughts and mouthwatering pictures on social media using the hashtag #HersheyPie. Whether you followed the recipe to a T or added your own personal twist, we can’t wait to see how your homemade pie turned out. Share your tips, tricks, and variations with other chocolate lovers who are eager to try this delicious dessert.
Did the creamy and rich Hershey pie exceed your expectations? Was it the perfect treat to satisfy your sweet tooth? We want to know! Share your feedback and let us know if this no-bake pie became a new favorite in your household.
As you enjoy your slice of chocolatey heaven, remember to snap a picture and share it with the world. Show off your culinary skills and the beautiful presentation of your Hershey pie. Whether you’re a seasoned baker or a beginner in the kitchen, your creation deserves to be celebrated. Don’t forget to tag us on social media, so we can join in on the mouthwatering experience.

“This Hershey pie recipe is a game-changer! So simple yet incredibly delicious. My whole family loved it and it’s become a regular dessert in our house.” – Sarah M.
“I couldn’t believe how easy it was to make this pie. The combination of chocolate and Cool Whip is heavenly. Thanks for sharing this recipe!” – John L.
“The Hershey pie recipe is foolproof and absolutely scrumptious. I added a drizzle of caramel sauce on top, and it took the pie to the next level. Highly recommended!” – Emily B.
| Ingredients | Quantity |
|---|---|
| Pre-made graham cracker crust | 1 |
| Cool Whip (thawed) | 1 tub |
| Hershey’s Chocolate Bars | 6 regular-sized bars (approx. 9 oz) |
So, what are you waiting for? It’s time to make your own Hershey pie and share your delightful experience with the world. Remember, the key ingredients are love, creativity, and of course, chocolate!
Conclusion
If you’re a chocolate lover, this easy and delicious no-bake Hershey pie recipe is a must-try. Indulge in a slice of chocolatey heaven today!
Here’s a simple and delicious 3 ingredient Hershey Pie recipe for all the chocolate lovers out there. The recipe requires a pre-made graham cracker crust, a tub of Cool Whip (thawed in the fridge), and 6 regular-sized Hershey’s Chocolate Bars (about 9 ounces).
Start by melting the chocolate bars in the microwave, then mix in the Cool Whip until well combined. Spoon the mixture into the pie crust and refrigerate for at least 3 hours or overnight before serving. This no-bake pie is creamy, rich, and perfect for any occasion.
Indulge yourself in a slice of this homemade Hershey pie, and experience the pure bliss of its rich chocolate flavor. Whether it’s a family gathering, a cozy night in, or a sweet treat at the end of a long day, this dessert is sure to satisfy your chocolate cravings.
FAQ
Can I use a homemade graham cracker crust instead of a pre-made one?
Absolutely! If you prefer to make your own graham cracker crust, simply follow your favorite recipe and use it as the base for the Hershey pie filling.
Can I use a different brand of chocolate bars?
Yes, you can use any brand of chocolate bars that you prefer or have on hand. However, keep in mind that the taste and texture may vary slightly from the original Hershey pie recipe.
Can I use a different type of whipped cream instead of Cool Whip?
Yes, you can use any type of whipped cream that you prefer. Whether it’s homemade whipped cream or another brand of whipped topping, the result will still be delicious.
How long can I keep the Hershey pie in the refrigerator?
The Hershey pie can be kept in the refrigerator for up to 3-4 days. However, it is best enjoyed within the first couple of days to ensure its freshness.
Can I freeze the Hershey pie?
Yes, you can freeze the Hershey pie for future enjoyment. Wrap it tightly in plastic wrap or place it in an airtight container before freezing. Thaw it in the refrigerator before serving.
Can I add other ingredients to the pie filling?
Absolutely! Feel free to get creative and add additional ingredients to the Hershey pie filling. Some popular options include crushed cookies, peanut butter, or even a dash of peppermint extract for a refreshing twist.
Can I use a different type of crust?
Yes, you can experiment with different crust options, such as a chocolate cookie crust or a shortbread crust, to add more flavor and texture to your Hershey pie.
Can I make individual mini pies instead of one large pie?
Yes, you can use mini pie crusts or even cupcake liners to create individual-sized Hershey pies. Adjust the quantities accordingly and reduce the chilling time as needed.
Can I use white chocolate or dark chocolate instead?
Absolutely! Feel free to use white chocolate or dark chocolate instead of milk chocolate for a different flavor profile. Just keep in mind that the taste and texture will vary depending on the chocolate you choose.
Can I add toppings to the Hershey pie?
Yes, you can add various toppings to your Hershey pie, such as whipped cream, chocolate shavings, or even a dusting of cocoa powder. Get creative and customize it to your liking!


