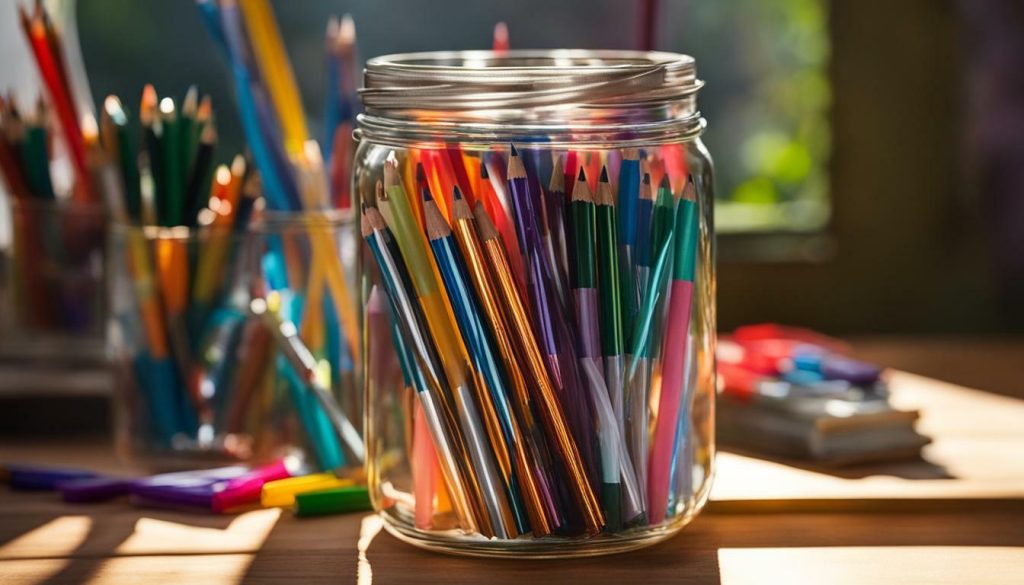

Are you tired of your pens and pencils cluttering your desk? Follow these easy steps to transform a basic mason jar into a stylish pen holder that reflects your personal style.
In this section, I will guide you through the process of creating a DIY mason jar pen holder. This simple and fun project will help you stay organized while adding a touch of creativity to your workspace.
Key Takeaways:
- Transform a basic mason jar into a stylish pen holder
- Stay organized while adding creativity to your workspace
- Decorate the mason jar using scraps of paper and ribbon
- Create unique designs with strips of paper and adhesive
- Add finishing touches to elevate your DIY pen holder
How to Make a DIY Mason Jar Pen Holder
To start, gather the following materials: a clean mason jar, scraps of paper, adhesive, ribbon, and scissors. With these simple items, you can create a beautiful and functional pen holder that will add a touch of creativity to your desk.
Begin by cutting the scraps of paper into strips. You can use different colors and patterns to create a unique design. Take the adhesive and apply it to the back of the paper strips. Start with two small strips in the back of the jar, attaching them vertically. Then, add two more strips where the paper overlaps, creating a crisscross pattern.
Work from top to bottom, adding different rows of paper and ribbon. You can experiment with different widths and lengths to create a layered effect. Make sure to press the paper firmly against the jar to ensure it sticks. Once you have completed the rows, finish off by adding a small ribbon bow to the front of the jar.
This simple and cute project is perfect for back-to-school or as a gift for a teacher. It not only helps you stay organized but also adds a personal touch to your workspace. So, grab your materials and get ready to create your own DIY mason jar pen holder!

| Materials | Tools |
|---|---|
| Mason jar | Scissors |
| Scraps of paper | Adhesive |
| Ribbon |
Decorating the Mason Jar
Cut the paper into strips and attach them to the jar using adhesive. Start with two small strips in the back, attach the paper, and then add two more strips where the paper overlaps. Work from top to bottom, adding different rows of paper and ribbon. This will create a beautiful layered effect that adds visual interest to your mason jar pen holder.
For an extra touch of creativity, consider using patterned or colored paper that matches your personal style or the overall theme of your workspace. You can also experiment with different widths of paper strips to create a unique design.
Once you have attached the paper strips, use ribbon to add additional decoration. Cut the ribbon into small pieces and tie them around the neck of the mason jar, creating bows or knots. You can also glue ribbon along the edges of the paper strips for a more intricate look.
To finish off your DIY mason jar pen holder, add a small ribbon bow to the front of the jar. This will serve as a focal point and add a charming detail to your creation. You can choose a ribbon color that complements the paper and ribbon used in the previous steps.
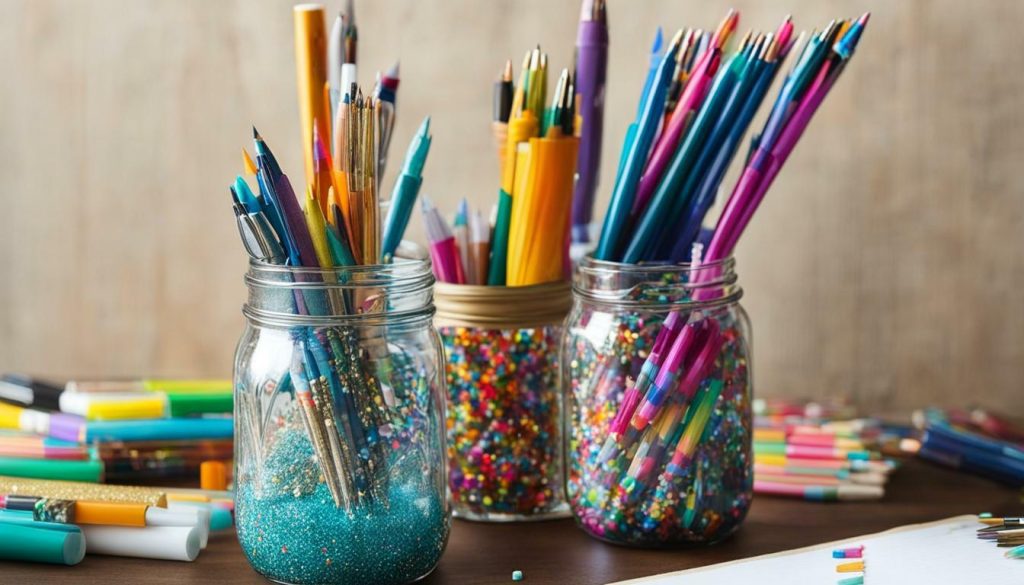

| Materials needed: | Instructions: |
|---|---|
| Paper (patterned or colored) | 1. Cut the paper into strips |
| Mason jar | 2. Attach two small strips of paper in the back of the jar |
| Ribbon (various colors) | 3. Add two more strips of paper where the paper overlaps |
| Adhesive | 4. Work from top to bottom, adding different rows of paper and ribbon |
With these simple steps, you can transform an ordinary mason jar into a stylish and functional pen holder. This DIY project allows you to unleash your creativity and personalize your workspace. Whether you’re a student or a professional, having a beautiful and practical pen organizer will keep your desk neat and inspire you to stay organized.
Finishing Touches
Finish decorating the jar by adding a small ribbon bow to the front. This simple addition adds a charming touch to the pen holder and completes the look. To create the bow, cut a piece of ribbon approximately 6 inches long. Fold the ribbon in half to create a loop, with both ends meeting. Pinch the center of the loop and secure it with a small adhesive dot or a dab of glue. Finally, attach the bow to the front of the mason jar, just below the rim. Adjust the loops to your desired shape, and you’re done!
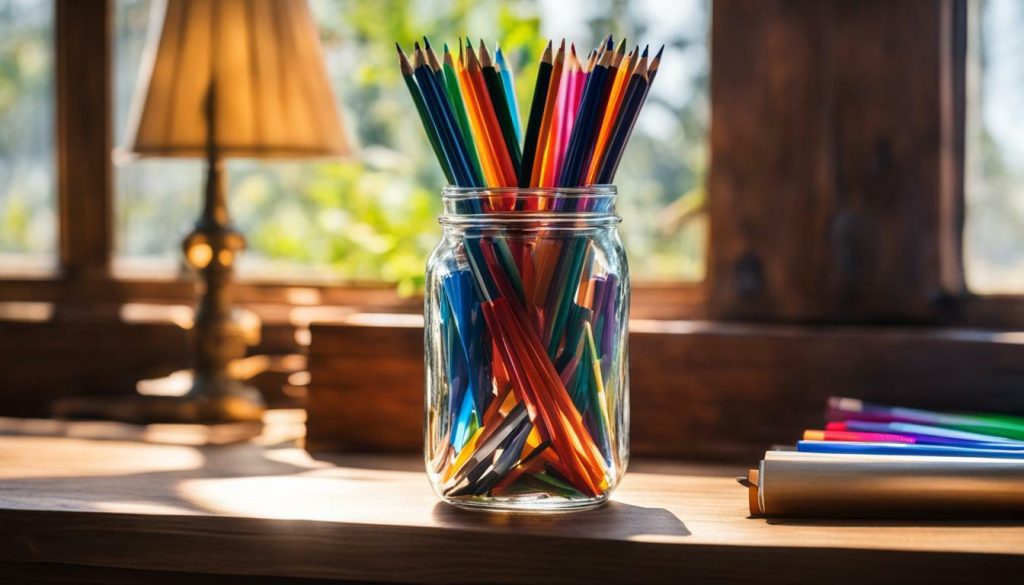
This upcycled mason jar craft is not only practical but also a great way to repurpose materials and add a personal touch to your workspace. The finished pen holder can be used to store not only pens but also pencils, markers, and other small office supplies. It’s a perfect addition to your desk, whether at home, school, or the office.
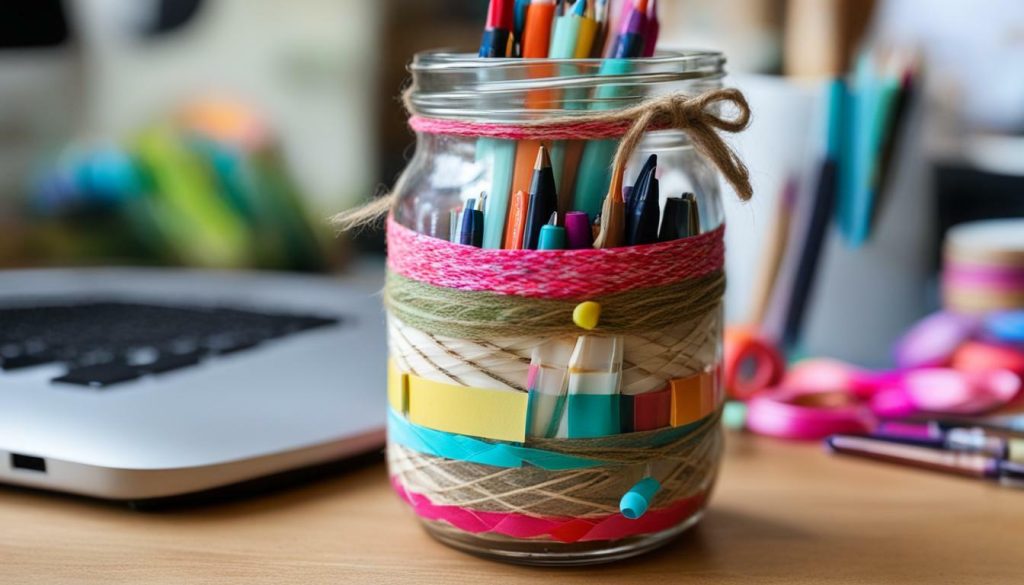

With just a few simple steps, you can transform a plain mason jar into a stylish and functional pen holder. By decorating the jar with strips of paper and adding a ribbon bow, you can create a unique and crafty storage solution. It’s a fun project that allows you to showcase your creativity and keep your desk organized at the same time.
Whether you are a student, a teacher, or someone who loves to stay organized, this DIY mason jar pen holder is a must-try. Get inspired and enjoy the process of creating your very own upcycled mason jar craft. It’s a small project that can make a big difference in your workspace!
Conclusion
Creating a DIY mason jar pen holder is a simple and enjoyable project that allows you to unleash your creativity while keeping your desk organized. Whether you make it for yourself or as a gift, this personalized pen holder is sure to impress.
By using scraps of paper and ribbon, you can easily decorate the mason jar in a unique and crafty way. Cut the paper into strips and attach them to the jar using adhesive. Start with two small strips in the back, attach the paper, and then add two more strips where the paper overlaps. Work from top to bottom, adding different rows of paper and ribbon. Finish by adding a small ribbon bow to the front.
This simple and cute project is perfect for back-to-school or as a gift for a teacher. Not only does it provide a practical and stylish storage solution for your pens and pencils, but it also adds a touch of personality to your workspace. You can choose your favorite colors and patterns to create a pen holder that reflects your unique style.
So, why not give it a try? Gather your materials, set aside a few minutes, and indulge yourself in this fun DIY project. Before you know it, you’ll have a beautiful mason jar pencil holder that will brighten up your desk and make you smile every time you reach for a pen.
FAQ
What materials do I need to make a DIY mason jar pen holder?
To make a DIY mason jar pen holder, you will need a mason jar, decorative paper, ribbon, adhesive, and scissors.
Are the steps to make a DIY mason jar pen holder difficult?
Not at all! The steps are straightforward and easy to follow, making this a great project for beginners.
Can I personalize the design of the mason jar pen holder?
Absolutely! You can get creative with the design by choosing different colors and patterns for the paper and ribbon.
How long does it take to make a DIY mason jar pen holder?
This project can be completed in just a few minutes, making it a quick and enjoyable craft activity.
Can I use the mason jar pen holder for other purposes?
Definitely! This versatile pen holder can also be used to store makeup brushes, art supplies, or small office supplies.


