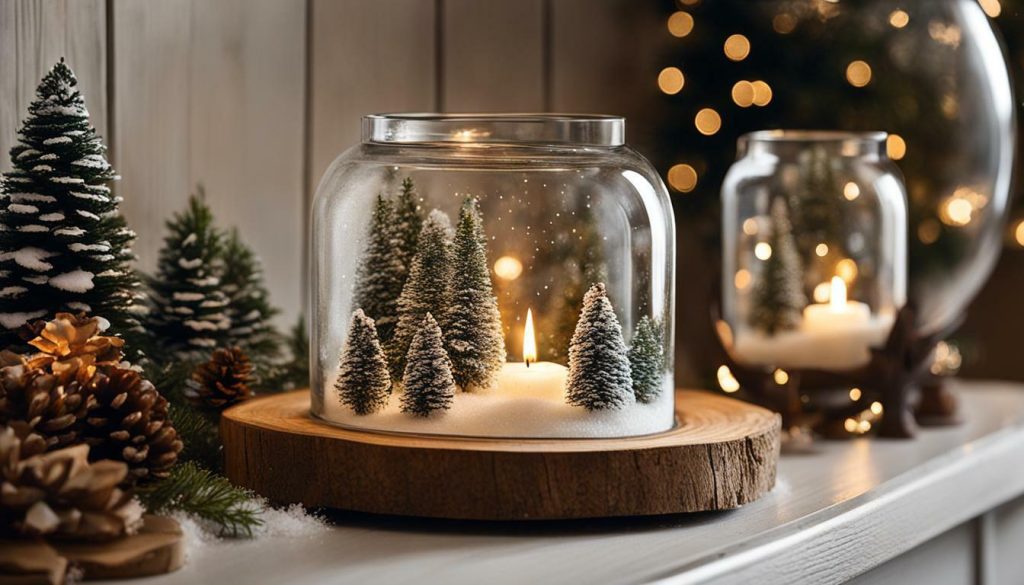

Looking to add a touch of whimsy to your holiday decor? Learn how to create your very own DIY snow globe candle holder with this easy-to-follow tutorial. Whether you want to craft a unique centerpiece for your dining table or a festive decoration for your mantel, this snow globe candle holder is sure to impress your guests and bring holiday cheer to your home.
Filled with sparkling snow and adorned with delightful Christmas trees, this DIY project is perfect for those who enjoy snow globe crafts and want to add a personal touch to their holiday decorations. Follow these step-by-step instructions and let your creativity shine as you create a one-of-a-kind snow globe candle holder.
Key Takeaways:
- Create a unique DIY snow globe candle holder with easy-to-find materials.
- Transform a Dollar Tree candle holder and mop head into a whimsical base.
- Paint mini Dollar Tree Christmas trees to resemble snowy scenery.
- Add decorative elements like diamond wrap ribbon and fake snowflakes for extra charm.
- Secure the snow globe to the candle holder and add final touches for a polished look.
Materials and Step-by-Step Instructions
To get started on your DIY snow globe candle holder, gather the following materials and follow these step-by-step instructions:
Materials:
- Dollar Tree candle holder
- Dollar Tree mop head
- Hot glue gun
- White acrylic paint
- Dollar Tree mini Christmas trees
- Dollar Tree diamond wrap ribbon
- Fake snowflakes
- Fine snow
- E6000 glue
- Cabinet knob
- Black and white baker’s twine
Step-by-Step Instructions:
- Take the Dollar Tree mop head and cut off a small section of the strings.
- Apply hot glue to the glass candle holder and wrap the mop head strings around it, securing them in place. This will create the base of your snow globe candle holder.
- Paint the Dollar Tree mini Christmas trees with white acrylic paint to resemble snow-covered trees. Allow them to dry completely.
- Wrap the Dollar Tree diamond wrap ribbon around the cap of the snow globe, securing it with hot glue.
- Glue the mini Christmas trees onto the plastic plug of the snow globe, positioning them as desired. Sprinkle fake snowflakes onto the hot glue to create a snowy effect.
- Add a layer of fine snow to the plastic globe of the snow globe.
- Insert the plug with the Christmas trees into the snow globe, making sure it fits securely.
- Apply E6000 glue to the bottom of the snow globe and attach it firmly to the candle holder base.
- Finish off your DIY snow globe candle holder by adding a cabinet knob on top of the snow globe for easy lifting and a bow made from black and white baker’s twine for a decorative touch.
Now, you have successfully created your own homemade snow globe candle holder! This beautiful and festive decoration is perfect for holiday crafts or as a gift for friends and family. Enjoy the warm glow of the candle inside the snow globe and the magical atmosphere it creates. Get creative with your designs and experiment with different colors, decorations, and themes to personalize your snow globe candle holder even further. Happy crafting!
| Materials | Instructions |
|---|---|
| Dollar Tree candle holder | Take the Dollar Tree mop head and cut off a small section of the strings. |
| Dollar Tree mop head | Apply hot glue to the glass candle holder and wrap the mop head strings around it, securing them in place. This will create the base of your snow globe candle holder. |
| Hot glue gun | Paint the Dollar Tree mini Christmas trees with white acrylic paint to resemble snow-covered trees. Allow them to dry completely. |
| White acrylic paint | Wrap the Dollar Tree diamond wrap ribbon around the cap of the snow globe, securing it with hot glue. |
| Dollar Tree mini Christmas trees | Glue the mini Christmas trees onto the plastic plug of the snow globe, positioning them as desired. Sprinkle fake snowflakes onto the hot glue to create a snowy effect. |
| Dollar Tree diamond wrap ribbon | Add a layer of fine snow to the plastic globe of the snow globe. |
| Fake snowflakes | Insert the plug with the Christmas trees into the snow globe, making sure it fits securely. |
| Fine snow | Apply E6000 glue to the bottom of the snow globe and attach it firmly to the candle holder base. |
| E6000 glue | Finish off your DIY snow globe candle holder by adding a cabinet knob on top of the snow globe for easy lifting and a bow made from black and white baker’s twine for a decorative touch. |
| Cabinet knob | |
| Black and white baker’s twine |
Decorating Your Snow Globe
Now that you have your snow globe assembled, it’s time to let your creativity shine through by decorating it with festive elements. Adding personalized touches to your snow globe candle holder will not only make it unique but also enhance the holiday spirit it brings to your home.
One way to decorate your snow globe is by painting the Christmas trees. Start by using a small paintbrush and white acrylic paint to give the trees a snowy appearance. Apply the paint in gentle strokes, focusing on the branches and tips. This simple step will instantly transform your trees into a winter wonderland.
To further enhance the beauty of your snow globe candle holder, consider wrapping a ribbon around the snow globe cap. A shimmering diamond wrap ribbon from Dollar Tree works wonderfully for this. Secure the ribbon in place using hot glue, making sure it is neat and evenly wrapped around the cap.
Adding additional decorative elements, such as fake snowflakes, can also bring charm to your snow globe. Use hot glue to attach the snowflakes to the plastic plug that will go inside the snow globe. Sprinkle some fake snow onto the hot glue to create a whimsical winter scene.
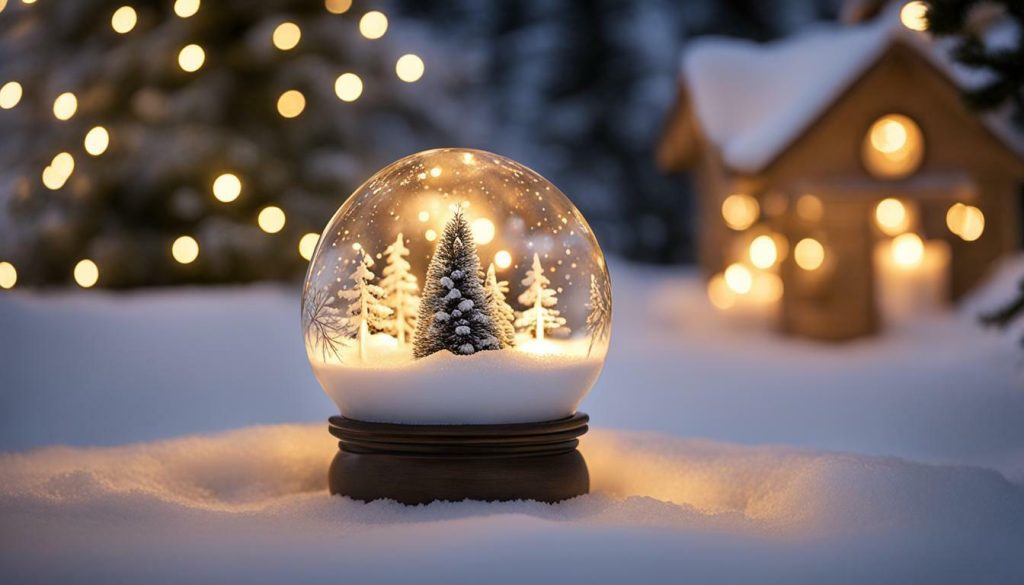

Decorating Your Snow Globe – Materials
| Materials | Quantity |
|---|---|
| White acrylic paint | 1 bottle |
| Diamond wrap ribbon | 1 roll |
| Fake snowflakes | A handful |
Decorating Your Snow Globe – Step-by-Step Instructions
- Paint the mini Christmas trees with white acrylic paint to resemble snow.
- Wrap the diamond wrap ribbon around the snow globe cap and secure it with hot glue.
- Glue the mini Christmas trees onto the plastic plug of the snow globe.
- Sprinkle fake snowflakes onto the hot glue.
With these decorating tips, your DIY snow globe candle holder will become a stunning centerpiece for your holiday decor. Let your imagination run wild as you add your personal flair to create a unique and enchanting snow globe that will captivate all who see it.
Final Touches and Enjoyment
With the finishing touches complete, your DIY snow globe candle holder is ready to be showcased in your holiday decor. The combination of the flickering candlelight and the swirling snow inside the globe creates a magical and festive atmosphere.
To fully appreciate your creation, find the perfect spot in your home to display your snow globe candle holder. It could be on a mantel, a side table, or as a centerpiece for your dining table during holiday gatherings. The warm glow of the candle and the gentle movement of the snow will captivate your guests.
As you bask in the cozy ambiance, take a moment to appreciate the craftsmanship that went into making your snow globe candle holder. The Dollar Tree candle holder and mop head may have cost just a few dollars, but with a little creativity and some DIY magic, you have transformed them into a unique and beautiful piece of holiday decor.
Whether you keep it for yourself or give it as a thoughtful handmade gift, your DIY snow globe candle holder is sure to bring joy and cheer throughout the holiday season. So gather your supplies, follow the steps, and let your creativity shine as you create your very own snow globe candle holder.
FAQ
Can I use any type of candle holder for this DIY snow globe candle holder?
It’s best to use a glass candle holder from Dollar Tree for this project, as it provides a sturdy and transparent base for your snow globe.
Where can I find the materials needed for this DIY snow globe candle holder?
You can find the Dollar Tree candle holder, mop head, mini Christmas trees, diamond wrap ribbon, fake snowflakes, E6000 glue, and cabinet knob at your local Dollar Tree store.
Can I use different colors for the snow globe decoration?
Absolutely! Feel free to get creative with the colors of your snow globe. You can use different shades of acrylic paint for the mini Christmas trees and choose any ribbon or bow color that matches your personal style.
How long does it take to make a DIY snow globe candle holder?
The total time for this project may vary depending on your crafting skills and the drying time of the glue and paint. Generally, it can take around 1-2 hours to complete.
Can I use real snow instead of fake snowflakes?
While real snow can give a more authentic look, it’s not recommended for this project as it may melt and cause damage to the candle holder. Fake snowflakes are a safer and more durable option.
Can I use a different type of glue instead of E6000?
E6000 glue provides a strong bond and is suitable for this project. However, you can try using other strong adhesives as long as they are suitable for bonding glass and plastic materials.
Can I use a different type of ribbon for the snow globe cap?
Yes, you can use different types of ribbon or even fabric to wrap around the snow globe cap. Just make sure it is securely attached with hot glue to prevent it from coming loose.


